Monday, January 18, 2010

Griggs Table Salsa

Okay, so if you look at this recipe, you will realize that it is NOT Griggs Table Salsa, the one we all could not wait to start shoveling into our mouth on freshly fried tostadas with butter the minute we sat down in the restaurant.  That recipe is not in this book! And when I realized that, I grabbed the book and tried to chew it to smithereens.  Okay, so that was Josephine when she was a puppy.  But wait...
Bridget Griggs was kind enough to share their recipe for Salsa with me one day as we were leaving church.  And she just told me, she didn't write it down, but it's so surprisingly easy, I've always remembered. 
First, you are going to need San Benito Whole Peeled Tomatoes.  I made a batch with a can of different tomatoes and it was just not the same.  These are the the specific ones that Bridget told me to get, and I see why.  Yes, it's a pain to get this huge can, and I wish someone would let me know where I could get smaller cans, but you can get these at Sams. (edit 5/18-- no longer available at Sams.)

Then you need some Jalapenos.  I use two smaller ones per batch and here's the key: Boil the jalapenos.  Boil them for about 5 minutes,  then slice off the stems.  You don't need to remove the seeds, just put them in the blender with the whole tomatoes...
and add the juice of 1/2 a large lime or one whole key lime, 2 cloves of garlic, 1/2 tsp. of salt and a pinch of sugar.  The pinch of sugar is not what Bridget told me but what I was told years ago about canned tomatoes, which was to always add a pinch of sugar to "get rid of the can."  Then blend it up.  I think it's better after it's been refrigerated overnight.
Of course, to serve this properly, you need freshly cooked tostadas, and butter, preferably restaurant pats with paper on top (just for old times' sake) but if not, a stick of salted butter will do.  Some childhood habits are just too good to give up.

Sunday, January 17, 2010

Mrs. Griggs' Cookbook

I have culled my cookbooks down quite a bit lately.  One that I do treasure is "A Family Affair", subtitled,  "A Few Favorite Recipes of Mrs. Griggs" by Josephine C. Griggs and Elaine N. Smith.
Going to Griggs' Restaurant after church Sunday was a tradition my family enjoyed, as did many others in our part of the world.
Edgar and Rita Griggs were such gracious hosts to everyone who walked in the door.  All the kids were sent out the door with a Tootsie Roll.  And what great food!  It was consistant and delicious every time.  Antiques, works of art, and the Billy the Kid Museum to see.  And of course, La Posta in Old Mesilla, which was also a Griggs Family restaurant was equally delightful and had such charm.  The birds!  The piranha swimming around in the huge aquarium!  The warren of little rooms, connected with thick plastered arches. The Garden Room! 
So, the matriarch of all the wonderful Griggs family restaurants published a few favorite recipes.  One of the things that I love about these recipes is their economy.   Short and sweet and to the point with no foolishness.  Empanadas, for example, has 5 ingredients and two short paragraphs of instructions.  Refried Beans has 2 ingredients, beans and lard.  She also is crystal clear about what's good.  "The taste of reheated beans is enhanced by adding lard." And that's that.  (It does crack me up that Mrs. Griggs used "Velvetta" (sic) and "Fritos".)
So I'm going to cook up a few of my favorite recipes from this treasure and see how they stand up to my memory and aging taste buds.  Starting with...(drum roll)...The Salsa.

Tuesday, December 29, 2009

In the snowy woods...


It's been a while since I posted anything, and so I just wanted to share this picture of a lovely young doe that I took this morning.

Also, it's a very good idea to have snow chains in Cloudcroft, NM.  I asked Left Brain today if I remembered it right.  "Aren't you supposed to turn into the slide?"  His reply was that yes, you were, unless you were just trying to stop without going over the side of the hill.   OK, I'm getting it.
Next post:  Mrs. Griggs' Cookbook.

Monday, November 30, 2009

Resurrection Soup


My mother used to make this when the situation was dire.  DIRE.  When she was really worried about someone, or when that someone was broken-hearted and had had impacted wisdom teeth dug out and had contracted the  flu at the same time and and they were scary skinny.  And this soup would make me them much better.  The idea of this soup would make you better.  It had bones and gristle and marrow and good Scotch barley in it.  It smelled and tasted like you would survive if you ate it.


First, you need some soup bones.  Your up-scale type grocery stores will not have these good soup bones.  Trust me. 


These bones  must have some meat  on them, but most importantly, a big patch of marrow in the bone.  Mmmm.  Mmmmarrrow.

I start out the fancy-pants way by browning the soup bones, but my Mother didn't.  So it isn't really necessary.

Chop up some onion, carrot and celery put it on the browned meat and add some water or broth.   I had some julienned carrot for this batch on hand and so I used that.  Y'all know I love my pressure cooker and so this is what I use to make it.  Cover it with water and batten down the top.  Let it rip.  Let it cook for at least 30 minutes in the PC or an hour and a half just barely simmering on the stove top.   If you abuse your meat on the stove top it will get back at you by being very tough and taking twice as long.
When the meat is tender, or as tender as it is ever going to be,


take it out of the broth and cut the meat off of the bones.

Make sure all the marrow is out of the bones, too.  Put that all back into the broth, along with some salt, about a half-dollar's worth.

Then add your pearl barley.  About a cup.


Let that cook for a while longer, about 30 minutes on simmer.


Then you are done.  Some might want to skim some of the fat off, but if you are really sick, don't do it.  It will cure what ails'ya.

Saturday, November 28, 2009

Red Enchiladas, Part 2


Now that you have your red chile sauce, let's take inventory of the other things you need.
Corn Tortillas.  Only corn tortillas.  Fresh is better.
Cheese.  We like to use mild Wisconsin cheddar in  these parts, but in Mexico you would use "Chihuahua" which is similar to mild cheddar.  The kind that is blended cheddar and monterrey jack is fine, as well.  I think some restaurants and recipes use mozzarella these days which I think is weird and must be because it's cheaper.
Onion.  White or yellow.
Eggs.  Absolutely.
Spray oil like Pam or whatever you've got.  You could use corn or olive oil and a brush as well.

You might as well cut up the onion and here's where I go off the tracks a little.  Raw onion just doesn't agree with me and many others, so I always cook the onion.  Just chop it up and put it into a bowl with some olive oil, cover with a plate or plastic and nuke it for about 2 minutes.  It should be transparent when you finish. 

If you don't buy already shredded cheese you need to get out your grater and grate your knuckles up.  That's why I always buy already grated.  I've done that too many times.  Ouch, *#@$%$#&!!

Now, get a couple of quarter sheet pans and put them in the oven and turn the oven to about 400.  Don't use insulated pans, we're using them to "fry" the tortillas.   When they've been in there for a little while and are hot,  open the oven and pull them out and spray the pans with the oil.  Then put your tortillas on them, and then spray the top lightly.

Close the oven and wait about 3 minutes.  When you look at the tortillas they should show "bubbles".


Now take them all out and stack them on a plate.  You can put another batch in now, but if you do you might get distracted and let them get too cooked.
Put a large pan in front of you with a pool of sauce in the bottom.
Take a tortilla and lay it in the sauce, then turn it over.  Put some cheese and onion in the tortilla, and roll it up.  Keep this up until you're through.  Make sure you have sauce left over!
This is all a matter of preference, but I don't like enchiladas that are just
swimming in sauce, and if you put all your remaining red sauce on now, your tortillas will get too soft.  They should have some texture and bite-ability, and not be mush.
So, I barely get them sauced when I make them, and right before I heat them up in the oven, I pour over the remaining sauce and sprinkle the left over onions and cheese over.  Heat them for about 20-30 minutes in a hot oven and while that's going on, fry your eggs.
"""""""
There is nothing that I love more than an egg on red enchiladas.  It's just perfection.  Mmmmm.

Sunday, November 22, 2009

Red Enchiladas, Part 1


This part really isn't very difficult at all.  It just takes some 'splainin'. Once you've done it once or twice it's really NBD and only takes about 15 minutes.    You just need to do this earlier in the day or at some earlier time because it's much easier to assemble your enchiladas when the sauce is cool.  Also,  red chile sauce freezes very well.

First, get a package of whole dried red chiles.  (I didn't leave out an "i", the word is chile, not chili, chily, chilies or any other gringo spelling).  And they don't have to be from Hatch, but definitely from New Mexico.
A word about chile.  My father,  Buck Sommerville, a renowned chile farmer and an innovator of the dehydrator and packaged red chile, always wanted to eat "fresh" red chile.  The taste is actually better.  So look for a package that has chile that is slightly soft and bendable, not crackly and breaking. Also, the color is slightly more red than brown with freshly packaged red chile.  But if you're desperate, any whole dried pods will do.  And a warning about ground up dried red chile "powder".  Don't do it.  You don't know what it is, how old it it, what bugs are in it,  how it was stored, etc.   It is the last resort of a chile lover.

I always get "MILD".  That's because farmers today have a hard time getting pure seed.  And if the seed isn't produced in a field that is  isolated from another field that is growing "HOT" you might burn up everything from your lips to your *.  So get mild.  You might get a hot batch anyway.
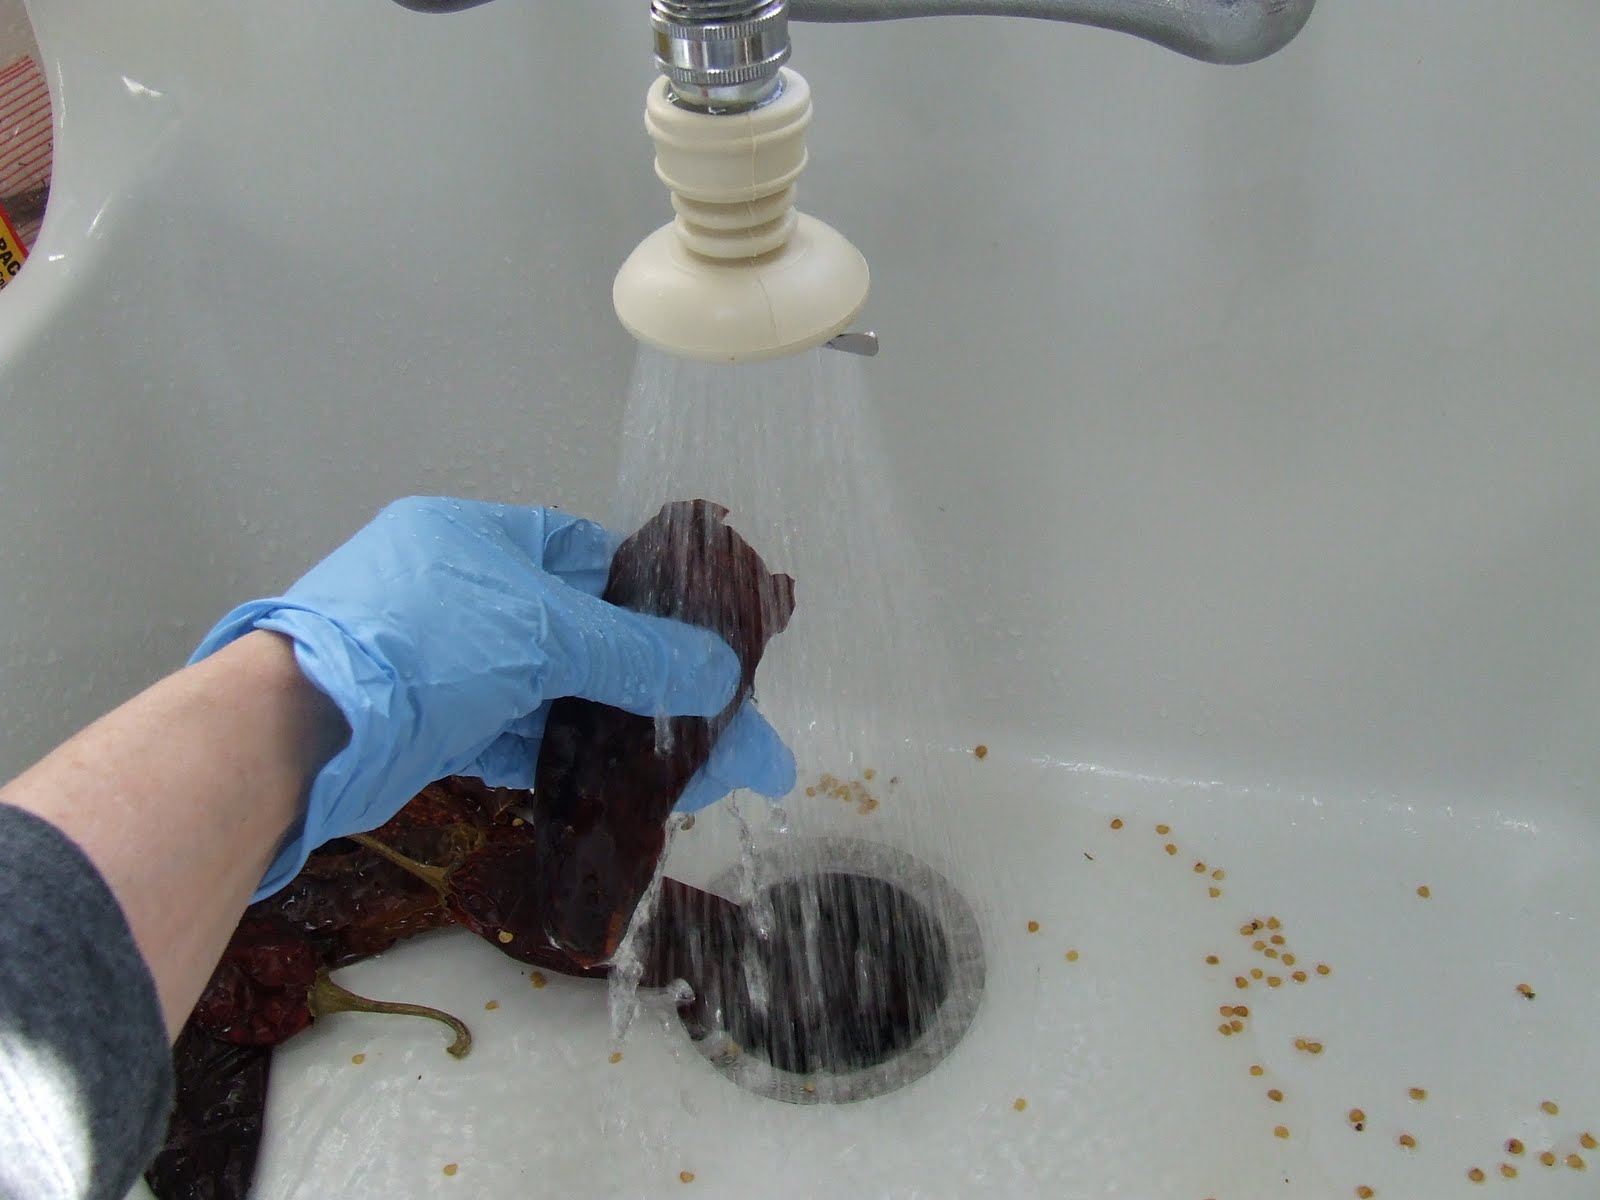
Put on some gloves.   Working with chile with bare hands can get your hands burning for much longer than you ever thought possible.  And if you slip up and touch your eye.... just put on some gloves.
Wash the chile and start breaking the stems off.  You don't really have to wash out the seeds but it might help make the finished product milder.  We like a little "pica" (bite) with our chile so I don't bother washing out the seeds...they will get strained out later.  Keep the water running over your work, the dust can bring on a coughing fit.

Then cover your chiles with water and on the stove top they go.
Some recipes call for just covering with boiling water, but I like to boil them, but only for about 5 minutes, covered.  Then let  them sit for a few more.
Get your blender and a dish towel.
 You'll see why in a minute.

Fish your chiles out of the pot and put them in the blender.  And here is where I put in some fresh Oregano.  Or you could use a pinch of dried.  Just thrown it into the blender with the chile. Use a strainer to pour some of the boil water in, just enough to cover well.

Then, put the lid on tight, and cover the lid with a tea towel, as my mother used to call them.  This is to catch any escaping liquid that might blow out of the blender.  Here's the deal; red chile will stain anything known to mankind.  And you really don't want to be trying to get a chile stain off the ceiling.  Or anything else.

                                                         Blend up your chile and the water and oregano.
                    
Once your chile is all blended up (and if it looks too thick, add more chile water)  pour it into a fine screened strainer over another bowl.  Take a big spoon and work it down over the strainer until you can't get any more to go through.  Some recipes don't tell you to do this,  they go straight to sauce after blending, but if you don't get the skin and seeds out, you will probably need some Pepcid later.  Just tellin' ya.

So now you've got a bowl of pure chile.  Isn't it beautiful?  Do you have a sweater or something you want to dye?

Alternatively, you can use a food mill, such as this trusty old stand-by.  It belonged to my Grandmother!


Anyway...

Take a pan and put a chunk of butter in there, say the size of a small egg.  Or you could use lard.  Yes, lard.  Then put in an equal amount of flour.  Then a pinch of comino or ground cumin.
I say a pinch because cumin is very powerful and I just like a tiny bit of it in my sauce.  You may want more, especially if you grew up in Arizona or eating Tex-Mex, which isn't the same as our Southern New Mexican food.  In my opinion, all that garlic and cumin just muddies up the taste, and possibly was needed where you didn't get good chile.  You want to taste the chile.

Let the cumin toast while the butter melts.  Then mix it all together and let the flour cook a bit.

Then pour your pure chile in there, be careful not to have your pan too hot.  We don't want spatters.
Now, this part is controversial.  Or  just personal preference.  But I think adding another liquid at this point is preferable, mainly because you need to stretch out your sauce a little.  I personally like to use chicken broth.  About the amount of a small can is enough.  My dear Auntie likes to put in tomato soup.  Lots of people want just water.   But I think chicken broth is best and it mellows the bitter bite of the chile just enough.

Also, now is the time for a half-dollar size amount of salt.   You will need to check the taste, though.  If you love chile, you might swoon.


Okay, so when the sauce has thickened to the point it coats a spoon, you're done.   That was easy, wasn't it?
Next installment:  Assembling the Enchiladas.

Friday, November 20, 2009

The Right Tool for The Job.


It took me a long time to finally break down and buy another mellon baller.  I know I had one at some other house, and can just imagine myself saying, "I never use that.  Out it goes."  And out it went along with some other stuff I had quit using like a potato ricer, plastic immersible egg timer, glass anti-boil-over device, etc., etc.
Then I started wondering why I had tossed it.  They are good for so many jobs.  So I bought another one, an OXO.  Eight bucks! I was mad at myself, but not mad enough to punish myself any longer by not having the right. tool. for. the. job.

Here's something you really need one for.  Baked apples.  And this is how I make them.
Start out with big fat Rome apples.   That's what my Mom told me and that's what I get.  Wash'em up good.

Then take your big side of the mellon baller and scoop out a ball around the stem.  Isn't that so pretty and white?
Then switch over to the small side and scoop out the seeds and the tough middle stuff.


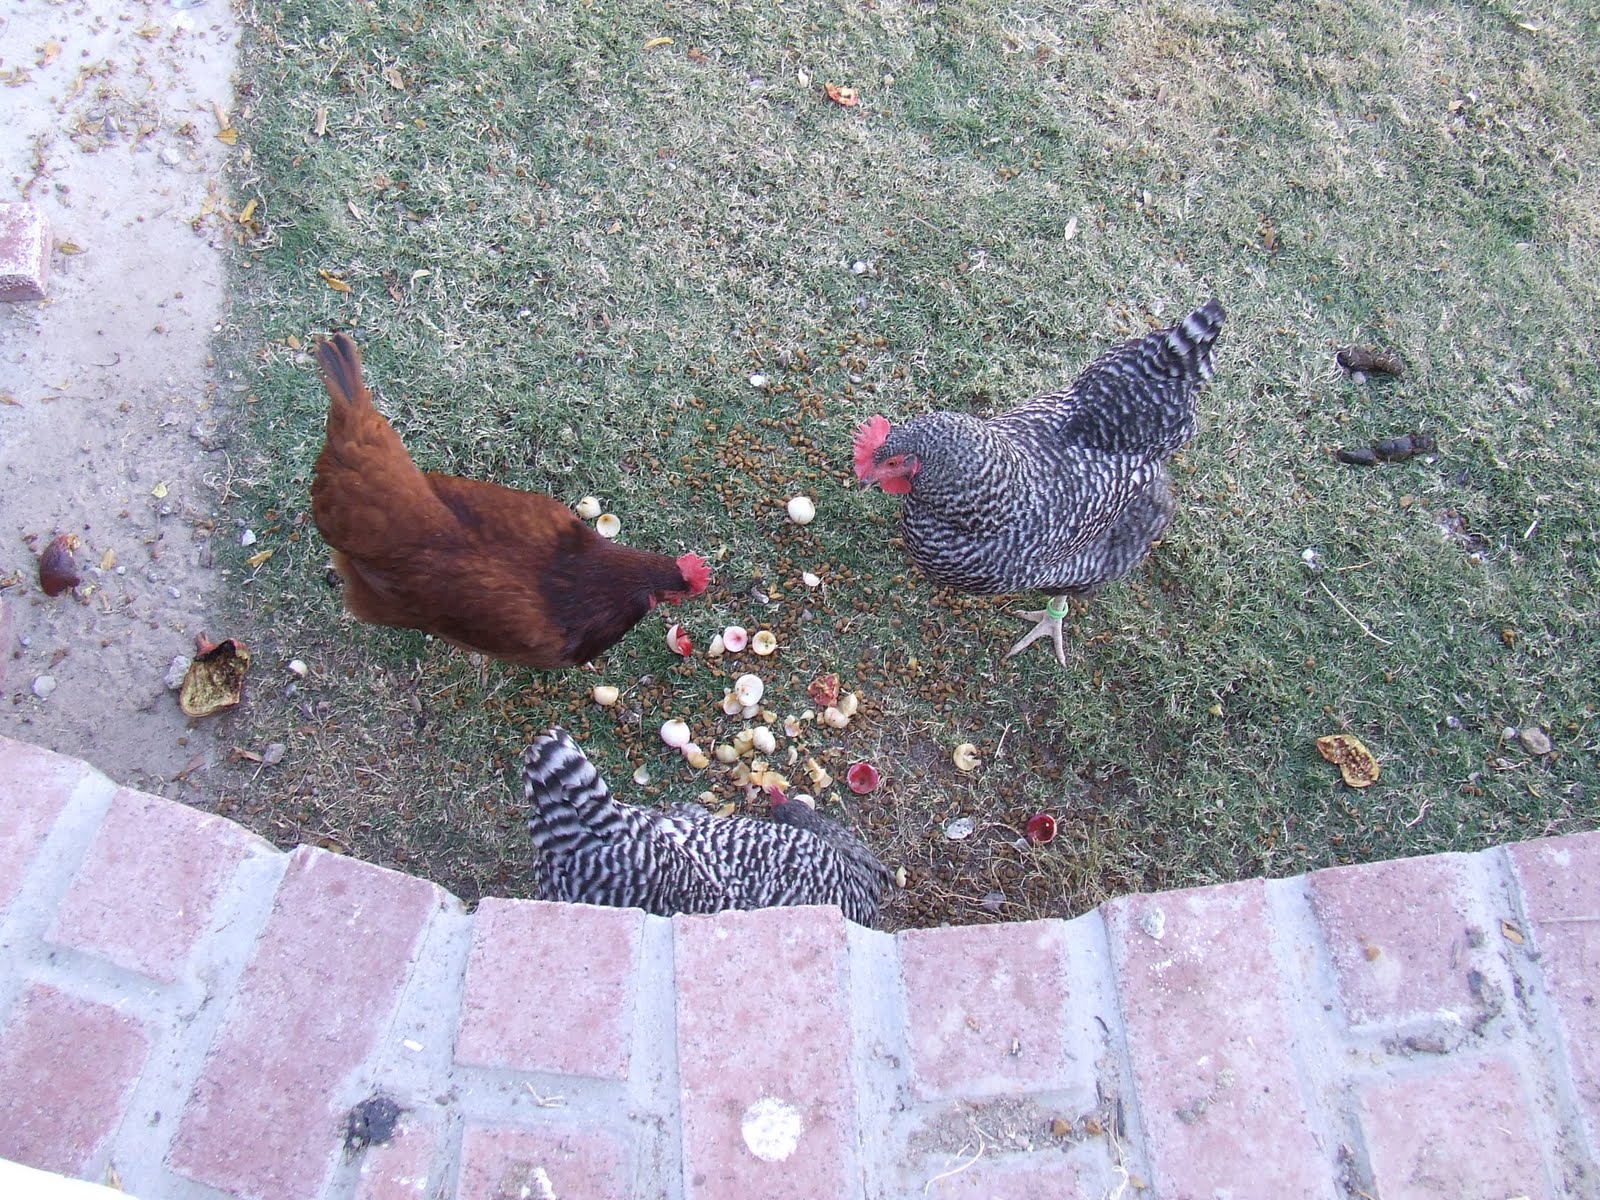
 The girls outside really liked eating the part that I scooped out.

Then take your large side and dip it into the brown sugar twice.  Put the sugar into the apple each time.
Turn the baller over and press the cup side into the sugar to smoosh it down.  Then sprinkle clove, ginger, and cinnamon over the sugar. 

Then take the large ball side and scoop a nice little butterball out of the butter, and top off the spices.


When you've got them done, you can just put them aside until you're ready to cook.  And by the way, this Costco Saigon Cinammon is wonderful.  Did you know Vietnam has the best cinnamon?


Put them in the oven for 40 minutes at 350 and they will be split open, buttery and sweet and smell delicious.
Just to be decadent, I put a little fresh whipped cream on top and served with a gingerbread blondie.   I love cooking in the fall.