Showing posts with label dessert. Show all posts

Monday, October 17, 2011

No. 3 Cream Pie


I love pie.  So did my Dad.  He was fond of all kinds of pie, but chocolate pie was a special treat.  And I love any recipe that will stick in my pathetic, junk-filled brain.  This one will.
So here is how to make a cream pie. Any cream pie.  It can be chocolate, banana, coconut, or lemon, depending on how you flavor it.  For coconut, add shredded coconut and coconut flavor, maybe a little rum.  For banana, add sliced bananas and a little nutmeg.  For lemon, lemon juice and lemon flavor or zest, for butterscotch add caramel, and so on.
And for chocolate, add cocoa.  Lots of cocoa.   I like to combine the new "dark" Hershey's with the regular, but you can experiment with different variations.

The nice thing about this recipe is there is no "tempering" or straining or any of that bother. You are going to end up with a pie, not a sauce, for Pete's sake!

Step 1.  Bake a pie crust.  Prick the bottom. Hot oven, around 375.  I use heavy "wachas" for pie weights, but some people use beans or nails or a chain.  When it's cooked and lightly browned on the edges, about 15 minutes, take it out.

Step 2.  In a heavy pan, add 3 cups of milk.  Mix in 1/3 c. of cornstarch, and 2/3 cup of sugar.  Are you seeing a pattern here?  Also add 3 pinches of salt, and 3 egg yolks and 3 T. of butter.  Mix well with a whisk.  Now you can turn on the heat.

Step 3. Add the cocoa.   For this very chocolate pie,  I'm adding 1/3 cup of dark cocoa, and 1/3 c. of regular.   The cocoa will float on the top, and that's okay.  Don't be alarmed!  If you are making a banana or coconut or butterscotch pie, add the banana or coconut or caramel right after it thickens.


Step 4.  Heat it slowly and whisk a lot.  You don't have to whisk it continuously, but don't wander off too far.


Step 5.  When it gets hot enough, it will thicken up and all the cocoa will be melted and incorporated into the pudding.  Take it off the heat and keep stirring until the moment you pour it into the baked crust.  Let it set and cool.  Put it into the refrigerator and put whipped cream all over the top before serving.


Thank you, Mrs. Hastings, for all those glorious pies you made for the scruffy little schoolchildren of Anthony Elementary!  This is lovingly posted in your memory.


Saturday, July 2, 2011

Rhubarb Gallette, Lard Crust


I need to take a dessert to a dinner tonight with friends, so I was delighted (and surprised!) when the produce man came forth with a box of rhubarb when I asked if just maybe, oh, please,  they had any in the back.  YES.
Here in the burnt-up desert there's just not much call for this cool-grown fruit.

So instead of a shortcake or cobbler, I want to make a gallette, which is sort of a floppy, free-form pie with bottom folded over to make the top.  I'm making it in a tart pan because this one is so big, and I need to transport it.

Furthermore, I have just decided recently, no more Crisco crusts.  Lard just can't be too much worse for your health, and it's not like I make a crust every week or even every month.  OK?

And here's why I prefer lard.  You just can't beat the flavor, and there's no need to add vinegar or hold your mouth just so and cross your toes when you roll it out, it simply cooperates better all the way around.

So, the steps are:


Put 2 c. flour in a bowl.

Add about 1tsp. salt and whisk.


Get your lard and put in about 1/2 cup, cut in chunks.


Cut the lard into the flour until it looks like this.

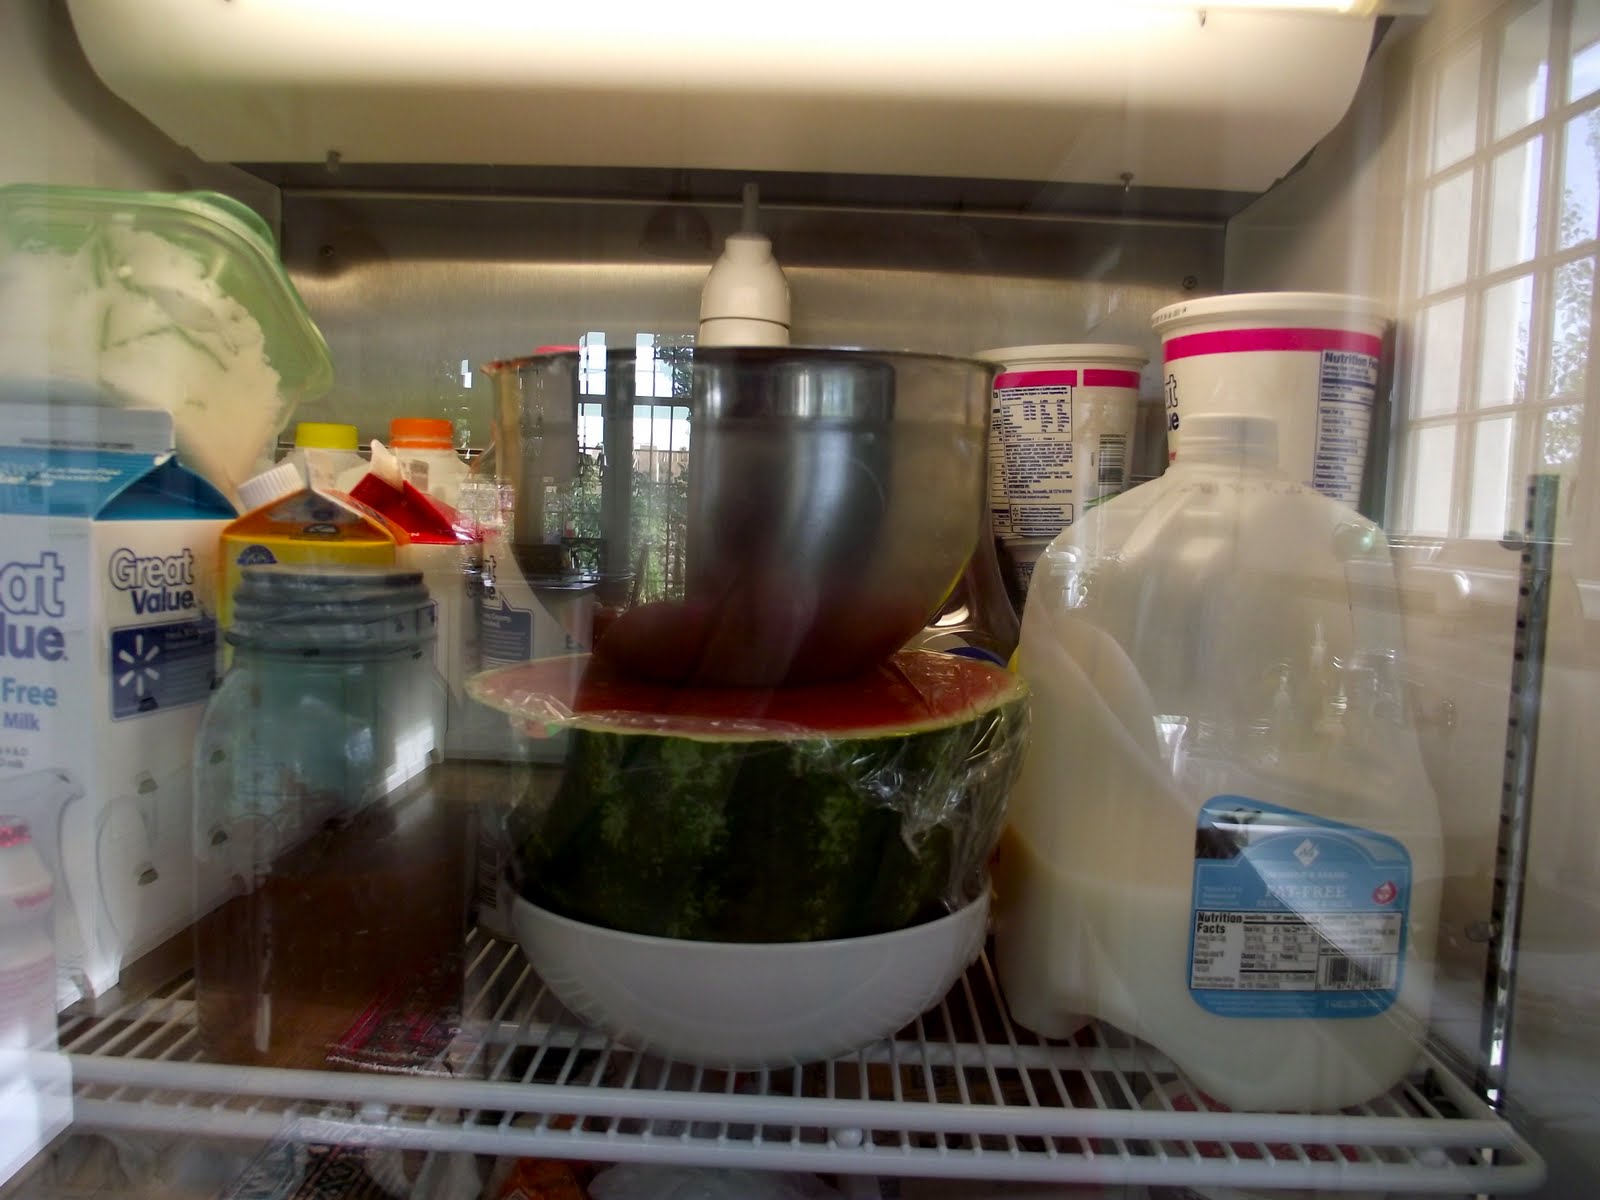
Put the bowl in the refrigerator, and yes, mine is stuffed like a Christmas turkey.


Wash and chop the rhubarb.  This is a big pie, so I cut about 6 stalks.


( added a couple of ripe plums that were hanging around)

Add 1c. sugar, 3/4 c cornstarch and a tsp of salt to the rhubarb and mix.  The cornstarch is to soak up the excess juices.
Set aside.

Get your crust dough out of the refrigerator and get a cup of water.  
Add most of the water, mix, add a little more and mix again.  ( I love my dough whisk!)

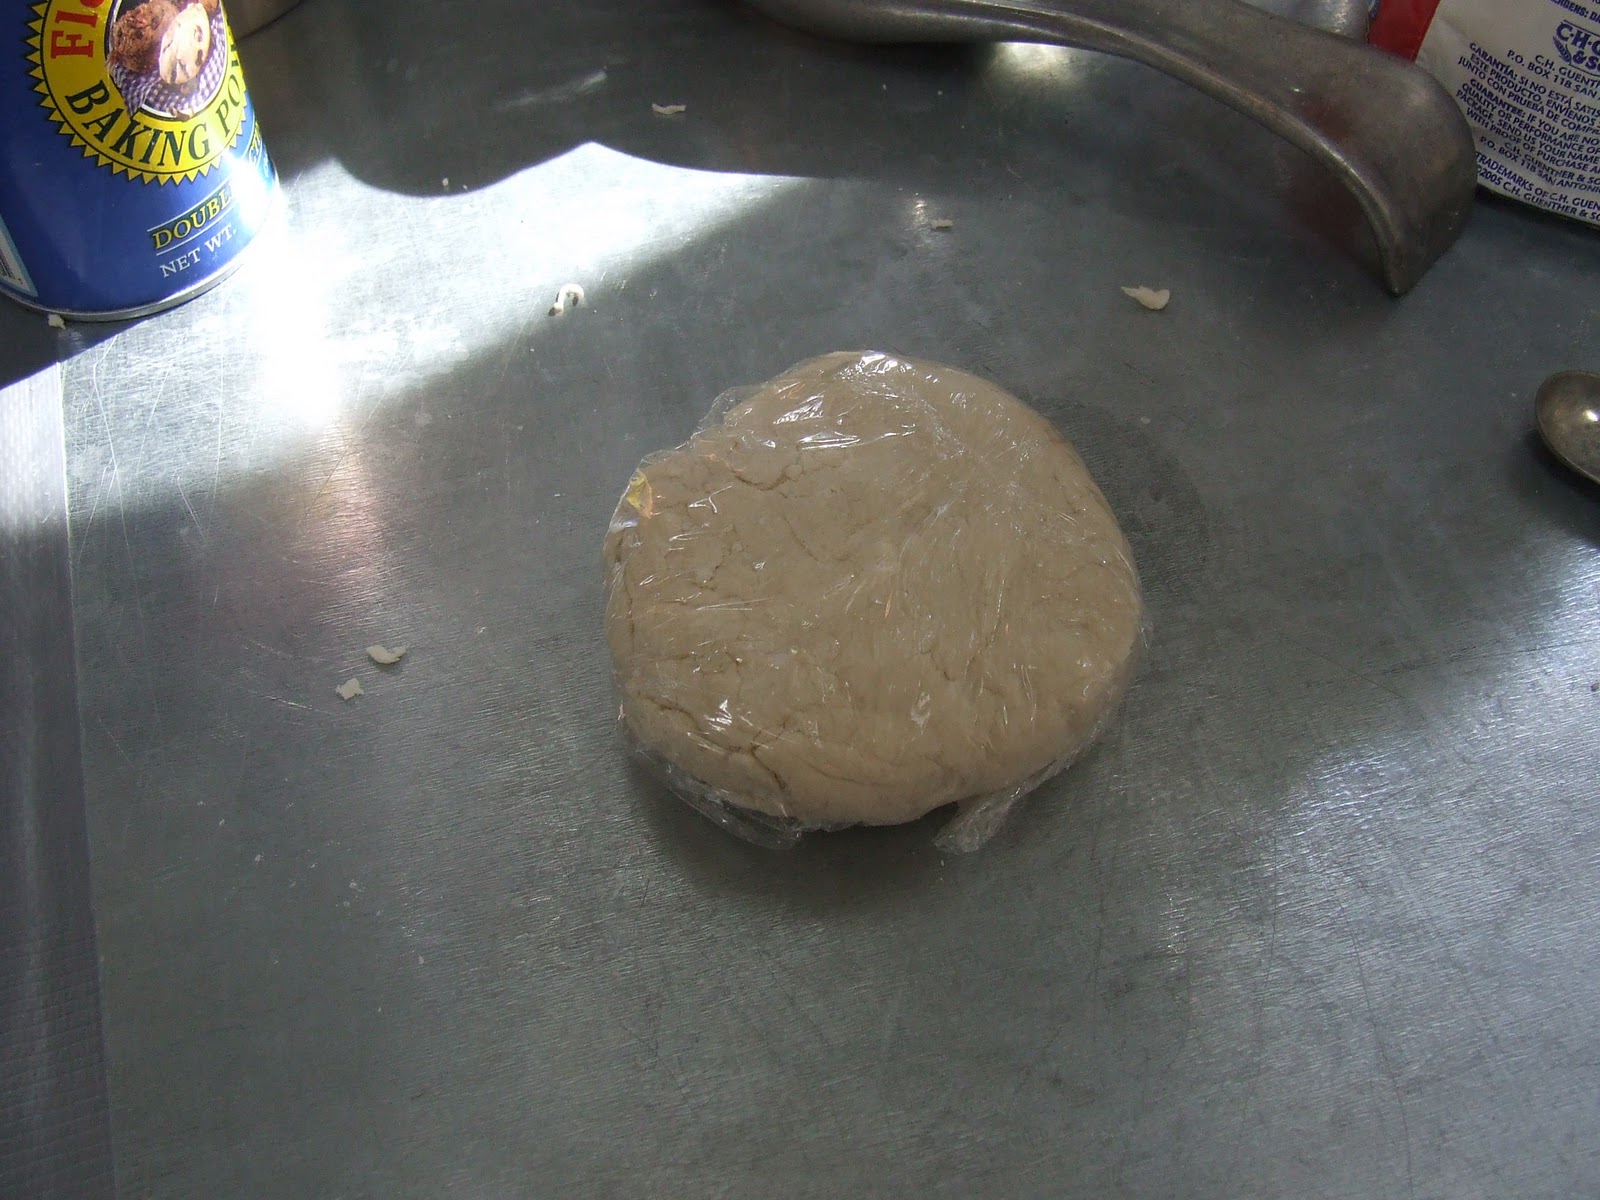
When the crust mixture looks like this, with very little dry parts left, gather it into a ball.
Let the dough ball rest a second.

Put a little flour in your tart pan, if using one, or on the cookie sheet if not.


Roll out the dough. I love to use the coated butcher paper for rolling out dough.  Just peels right off.

Put the dough on the tart pan.  Stretch it out as far as you can.


Put about 1/4 c powdered sugar on the dough.  Spread it evenly.  This keeps the crust from getting soaked.
Put the rhubarb on the crust and fold over.

Paint with cream for prettiness.
Cook in a 365 oven for about an hour.
I can't wait for dinner.

Wednesday, January 26, 2011

Sopaipillas

Going out for Mexican food is one of the best things about living here, in this funky old town that never changes fast.
Bet you didn't know that a city of close to a million could exist in the US without having a Williams Sonoma, or a Pottery Barn, a Whole Foods, or even a Trader Joe's anywhere near it, didjya?  "Keep El Paso Backward," as the man says.
But, boy-howdy,  do we have our Mexican restaurants!  And we love them.  
And of course, we have our own little whang on Mexican food; it's kinda New Mexico, kinda Northern Mexico, kinda Tex-Mex.  But it's all good.  And we have sopaipillas.

The correct pronunciation by gringos is something spanish-speakers have given up on completely.  You used to hear the waitress politely but pointedly saying "so-piy-piyas" but hardly ever, now.   And you can forget all about Ruidoso EVER being said right.

But even if we don't say it right, we do love sopaipillas and honey.  And they are easy to make.  Yes, I said easy.  All you need is some ready-made flour tortilla mix, some baking powder, and some water.  Oh, and some oil to fry them in.  That's all.

First mix a teaspoon of baking powder in with a cup of tortilla mix.  Use a whisk, and get it  mixed up good.

Then add 1/2 cup of hot water, plus 2T. more.  Mix this up and the dough should look like this, reminiscent of play-doh.


Let it rest. Rest, little dough ball.

Then roll it out as thin as you can.  That should be about 1/8 of an inch.


Cut it into large triangles.  It's important that they be large, if you want inflation to be successful.
Let it rest a little more.  You can do this while you heat up your oil.  I used canola this time.

Get it hot.  Really hot.  Bubbling hot.


Then put your triangles in, one at a time.  They should blow up like little pillows.  Little, fried, greasy, delicious, pillows.

Take them out and let them rest again, this time on a sheet of brown paper. (or several)

Whether you dredge them in sugar and cinnamon is up to you.  I find that to be overkill.

Serve them with honey, and the idea is to make a little hole, pour the honey into the hole, and turn it around until the insides are coated.  Then eat.

Yes!  Exactly what you needed after the tostadas, chile con queso, enchiladas, refried beans and sopa de arroz.  


Thursday, December 9, 2010

More Plum Pudding, Tiny Tim?


There are two things my little Kiwi mother cooked that I know came from her family tradition; Mint Sauce for lamb, and Plum Pudding.  She was always too scared to flame it and so didn't, and didn't make Hard Sauce, at least I don't remember that, but the Cool Whip was just fine, thank you.
I'm kind of a cream snob these days so that's what I'll top mine with, but finally I got busy ahead of time and made my Plum Pudding.  For Mom.

The most difficult part of the whole thing was finding suet, and that's one thing I made sure I got because I remember that Mom said it just wasn't right without it!
I knew that suet was the hard fat from around the kidneys of beef, and that you grate it up like hard cheese, which it resembles but actually looks and feels more like tiny soap flakes.
So if you are going to make a Plum Pudding, the first thing you need to do is find either an honest-to-goodness butcher shop or, as in my case, a grocery store that cuts up the beef carcasses.
Here in El Paso, I bumbled around until the nice man at the Ruidoso Market downtown (where everyone assured me I would find it) told me to go up the street to Silva's Market.
Silva's is nestled right down at the bottom  the Stanton Street Bridge from Juarez, and you need to ask for "sebo de res".   A great big chunk of this stuff will cost you one whole dollar.
Hot Damn!  What a buy!
For a lovely Plum Pudding sans suet, see  http://makinglifedelicious.com/2010/12/11/english-plum-pudding-aka-christmas-pudding-aka-cake/
Anyway, after you procure your suet, chill it well and grate up however much you need.
Here is the way I have the Plum Pudding figured out:
In a large bowl, combine equal amounts of:
Bread Crumbs
Self-rising flour
Grated Suet

In my case, I used 8oz. of each, but could have used 10 and had enough room in my steamer mould.
Add these spices, generously, and by that I mean at least a teaspoon:
Mace
Clove
Nutmeg

Cardamom
Allspice
Add 1T salt and half as much brown sugar as the amount of flour, that was 4 oz.
Add 4 oz. each (half as much as the flour) of:
candied peel (I used just a bit -- fruitcake phobia, but next time I'm leaving it out altogether)
golden raisins (Sultanas! don't you love that word?)
currants
chopped date
chopped prunes (hence "PLUM pudding")
and a chopped apple.
In another bowl pour125ml. ale ( Stout in English recipes) You would of course increase if you used larger proportions of the rest.
and 4 eggs, or half as many eggs as ounces of flour.
Mix that in with the dry ingredients and pour it into a heavily greased bowl or steaming mould.  Cover with wax paper or cloth and tie securely, or use a covered mould like mine.
Put it into a stockpot with the water coming up halfway the bowl, cover,  and boil softly all day.

Or, put it into a pressure cooker with the pressure gage OFF, put the top on and simmer for 1 hour, then, add more water, put the pressure gage ON and cook about another hour.  This is to give it time to rise before "really" cooking.
NOW, here is where it gets mysterious.  Supposedly, you can just put this away into a cool cabinet and leave it alone until right before serving, when you steam it AGAIN for a while to get it warm and moist.
I cannot abide the idea of something that's to be eaten NOT being in the fridge, so of course that's where mine is.  I think I remember Mom leaving hers in the pantry, but maybe not?

The verdict -- it's good.  It tastes pretty much like my mother's, but doesn't seem as dark as hers was. Possibly because I didn't give it a liquor "bath" as my Auntie recently recommended.   Hard to do when there are non-drinkers to partake.
It makes me think of my sweet mother and all the generations of women before me who did their best  to make  Christmas as special as it could be.  Merry Christmas!

Thursday, October 28, 2010

Popcorn Balls at the Lion's Club Carnival: My Re-creation.


This time of year makes me crave red enchiladas.  And pomegranates.  And popcorn balls.


Yes, the popcorn balls that were sold at the pokey little Lions Club Carnival that was held in my pokey little New Mexico hometown.


My mother, being a member of the ladies club that made them, always packed the sticky corn around a big fat marshmallow, and I thought that was just divine. I considered myself gypped if I didn't get one made by my mom.  Indignant!


But today I didn't want to fool around with a double boiler, and lots of butter, and marshmallow creme.  So...


I popped the corn in this.

I have to admit that this was a recent purchase.  This is NOT the same hot air popcorn popper that I had about 25 years ago.  That one was sold in a garage sale, along with my melon baller. Could you possibly be surprised?

I sprayed a little butter flavor oil on the pan, then on the corn, then salted it.  Back then, you snuck it in, but now we've got salt crystals sitting on sweet stuff just like that was normal!


Then I mixed in some mini-marshmallows.
Yes, I know it.  This is going to end up tasting like Fruit Loops.  So do yours with white ones!
Then I put it into the oven (350°) for 5 minutes.
I took it out and pushed down on some parchment paper on the top of it really hard.  Moosh, smoosh.
And when it was cool, I cut it with a buttered, serrated, knife.


And I was happy.  Now excuse me while I  go find some dental floss.