Thursday, February 17, 2011

Baked Chiles from Seasoned with Sun

This is an oldie-but-goody recipe and a fine side-dish to serve with beef. My mother  liked to serve it for "company" dinners, but it only takes about 15 minutes to put together, and if you've got this, a steak and a salad, you're set.
You will need :
Original recipe from Seasoned with Sun
1 or 2 chiles for every person.

1 egg for every two or three chiles.
A can or two of stewed tomatoes. 
*Stewed tomatoes are peeled and cooked just a little with  celery and bell pepper.  Plain stewed tomatoes are very common in southern food.
Sometimes they are also Mexican style or Italian style.  For this I like the plain Stewed.

Monterrey Jack (or cheddar, colby or longhorn) cheese.  I found a blend of cheeses in my refrigerator, but I prefer just Monterrey Jack.

An onion.

Butter.  Forget about "margarine".

And( this is my own addition) about a tablespoon of flour.
Here are the steps:

1. Grease an oven proof dish.


2. Stuff the chiles with cheese.


3. Lay the stuffed chiles in the dish with a little space between them.  Let the stems climb up the sides.

4. Chop the onion and saute it in butter (or ok, olive oil) until it's translucent.


5. Add the can of stewed tomatoes (and a pinch of sugar) and saute a few minutes.
6. Pour it over the chiles.


7. Separate the eggs.

8. Whip the whites.
9. Then add a tablespoon of flour to  the yolks with a teaspoon of water and good pinch of salt.  Mix well.


10. Fold the whites in with the yolks.

11. Spread this over the chile/tomato mixture.


12. Bake about 30 minutes in a 350° oven.  I don't know why the recipe in SwS says 45(to 60!) minutes, that's just wrong.

This is definitely good enough for "company", or just your favorite people!

Saturday, February 5, 2011

Fried Chicken, Redux


Again with the chicken?  Why?


Well, because,  last summer when I had to make a TON of Fried Chicken for a couple of fried chicken lovers' Very Important Birthdays,  I decided I needed to streamline my method of frying chicken a bit.  I needed to move things along, get it going, hurry up, dammit, too many other things to do!  Like sitting down to rest!  And then I decided that I liked the finished product better after the streamlining.
And so, for the sake of complete and full disclosure, and to help others sit down and rest, I am changing the way I fry chicken.  Forever.

And in honor of "Justified"'s 2nd season on AMC,  here is the newer, cleaner, quicker, more powerful way to fry chicken!  Less cleanup,  less standing, less dipping, less worrying about raw chicken.  I think Raylan would approve!

The only hitch is this: you need to plan ahead.  This method of frying chicken 
requires that you give it enough oven time to ensure thorough cooking.
Here is what you need:
Peanut Oil
Self-Rising Flour
Regular Flour
Salt
Paprika
Garlic powder
White Pepper
Chicken.  Size of the pieces doesn't matter.
Here are the steps:

1. Start with rinsed and dried unfrozen chicken.  Soak the chicken in buttermilk.  Just buttermilk.  This  is not technically a brine, but the buttermilk is salty and the enzymes in the buttermilk tend to break the meat down a little.  You can do this for a couple of hours or overnight.

2. Mix self-rising and all-purpose flour in equal proportions.   I had a lot of chicken to fry for this batch,  so I used 2 cups of each.


Then I added
1tsp. white pepper,  1tsp. paprika,  1/2 tsp. garlic powder and 1 T. salt.
Mix all this with a whisk in a large bowl.

3.  Set your oven to Bake at 200°.  Line a roasting pan with brown paper and a rack if you have one.  If not, just the paper do.  Put that into the oven.

4. Put about 4 cups of peanut oil into a heavy dutch oven and crank it up.  Give it about 5 minutes to heat up really well.


5. While the oil is heating up, take two or three pieces of chicken
directly from the buttermilk and put them on the seasoned flour.  Lay them down gently, and leave them for a minute, then gently flip them over.  Make sure all parts have been dredged in the flour. Then let it sit for a couple of more minutes to bond.


6. When you are convinced that your oil is hot enough (bubbling),  carefully put the (3 or less, never more) pieces of chicken in.  Turn the heat to medium.


7. After about 5 minutes turn them over.

8. When the chicken is dark golden brown all over, (in other words, about 5 more minutes or until it 
looks perfect) take it out and put it into the roasting pan.  Don't worry about pink insides, it's going to cook some more.  But it's not going to get darker, and it will stay crispy.


Continue with the rest of the chicken, and when you are finished, leave the chicken in the oven for at least another hour to make sure it's all
cooked.   If you are nervous about it, check the deepest part of the biggest piece of chicken with an instant read thermometer and see that it's over 165°.  It should be.


This beats KFC.  Any day. 
So, what do you do with the left-over oil?
As well as making a very fine coffee, Chock full o'Nuts makes a dandy old oil receptacle.


Wednesday, January 26, 2011

Sopaipillas

Going out for Mexican food is one of the best things about living here, in this funky old town that never changes fast.
Bet you didn't know that a city of close to a million could exist in the US without having a Williams Sonoma, or a Pottery Barn, a Whole Foods, or even a Trader Joe's anywhere near it, didjya?  "Keep El Paso Backward," as the man says.
But, boy-howdy,  do we have our Mexican restaurants!  And we love them.  
And of course, we have our own little whang on Mexican food; it's kinda New Mexico, kinda Northern Mexico, kinda Tex-Mex.  But it's all good.  And we have sopaipillas.

The correct pronunciation by gringos is something spanish-speakers have given up on completely.  You used to hear the waitress politely but pointedly saying "so-piy-piyas" but hardly ever, now.   And you can forget all about Ruidoso EVER being said right.

But even if we don't say it right, we do love sopaipillas and honey.  And they are easy to make.  Yes, I said easy.  All you need is some ready-made flour tortilla mix, some baking powder, and some water.  Oh, and some oil to fry them in.  That's all.

First mix a teaspoon of baking powder in with a cup of tortilla mix.  Use a whisk, and get it  mixed up good.

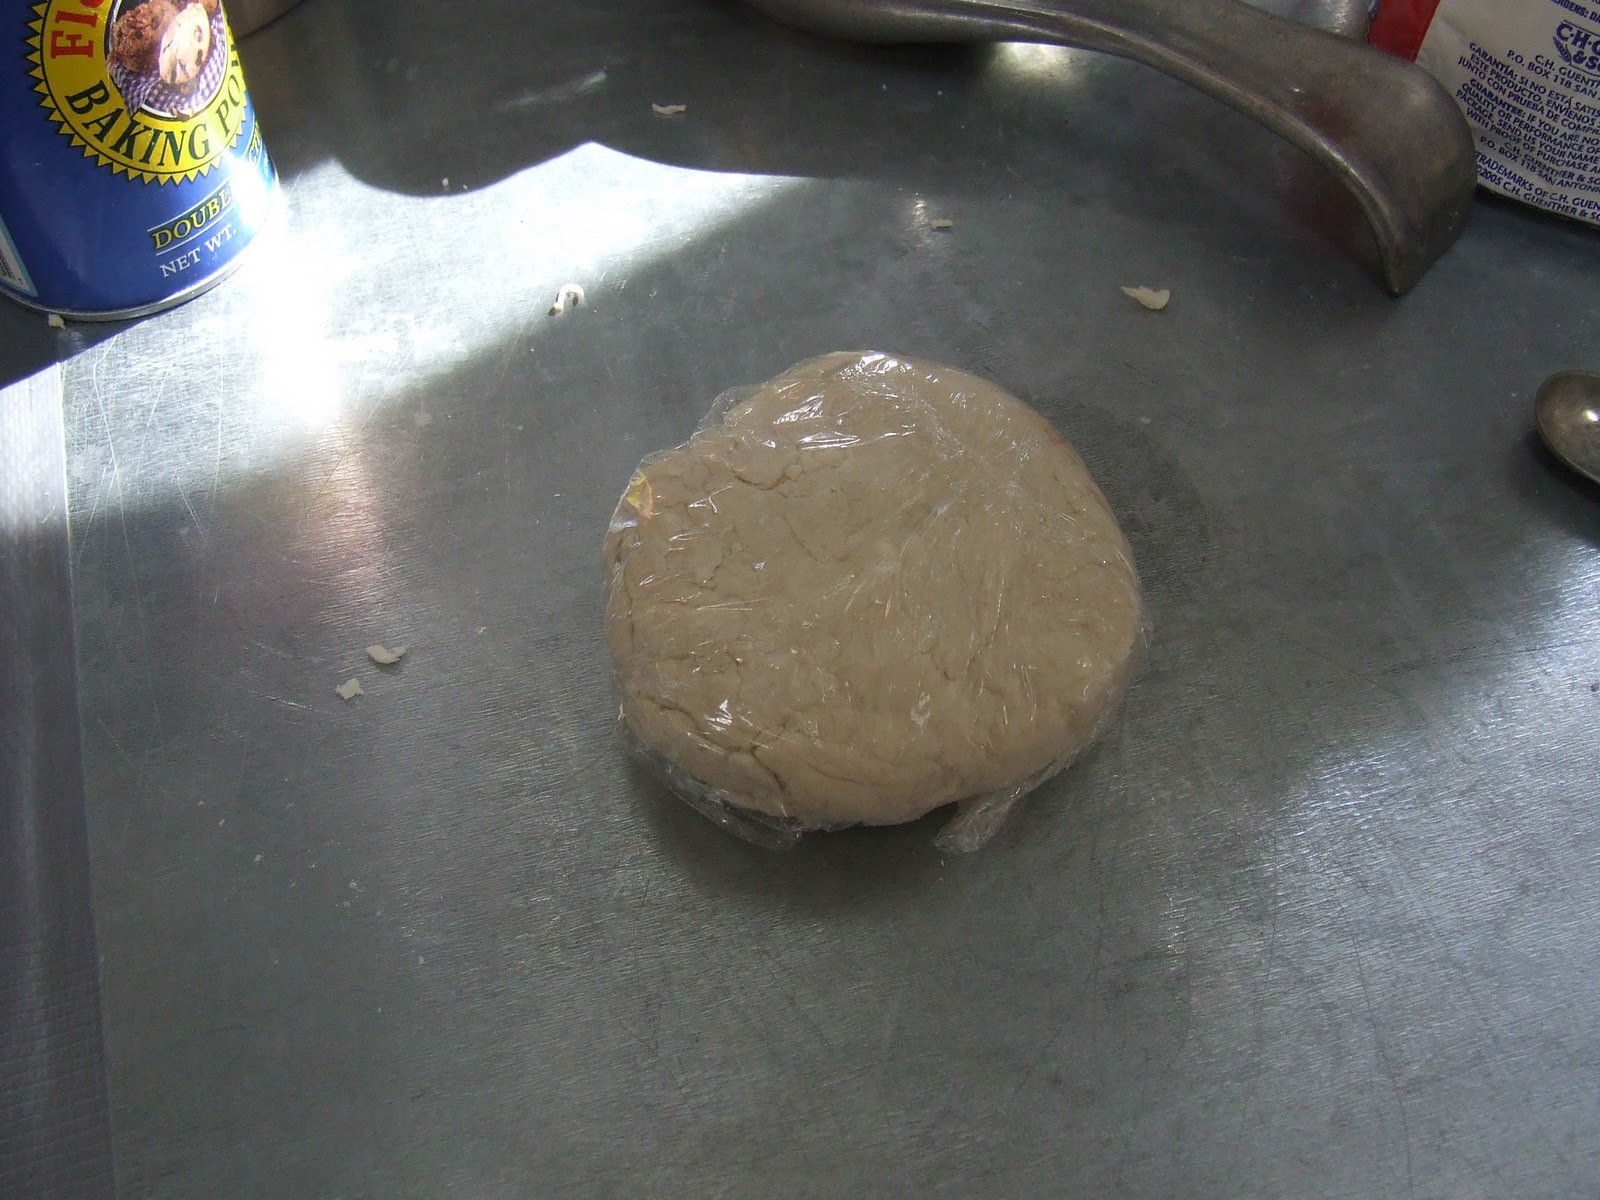
Then add 1/2 cup of hot water, plus 2T. more.  Mix this up and the dough should look like this, reminiscent of play-doh.


Let it rest. Rest, little dough ball.

Then roll it out as thin as you can.  That should be about 1/8 of an inch.


Cut it into large triangles.  It's important that they be large, if you want inflation to be successful.
Let it rest a little more.  You can do this while you heat up your oil.  I used canola this time.

Get it hot.  Really hot.  Bubbling hot.


Then put your triangles in, one at a time.  They should blow up like little pillows.  Little, fried, greasy, delicious, pillows.

Take them out and let them rest again, this time on a sheet of brown paper. (or several)

Whether you dredge them in sugar and cinnamon is up to you.  I find that to be overkill.

Serve them with honey, and the idea is to make a little hole, pour the honey into the hole, and turn it around until the insides are coated.  Then eat.

Yes!  Exactly what you needed after the tostadas, chile con queso, enchiladas, refried beans and sopa de arroz.  


Sunday, January 23, 2011

Chile Con Queso


Well, there's some football watching going on over here, and my guys want some Queso.  It's a tradition.

Chile con Queso is chile with cheese, and there are some really rank canned imitations being served out there in fast/junk food land.

And I'm not claiming that the kind I make is the authentic, original way to make it, but it is certainly a step above the pasty orange grease that is being ladled out over salt-laden fake tostadas at snack food stands.  Not a giant step, but a step.

So, okay, you start with green chile. You should use a lot, after all, the dish is chile with cheese, not cheese with chile.   I am lucky enough to have green chile available all through the year here,  but if it's just impossible for you to get fresh chile you could use canned, but rinse them well. (Or, you could just throw up your hands and use Rotel, no shame in that.)

I could tell as I coughed cleaning it that it was going to be HOT, so this was enough.

Chop some onion and saute it with the chile for a few minutes, until the onion is cooked or transparent.  I am using a steel bowl to saute so I can just move the whole thing over a pan of water for a double boiler.  You really need a double boiler to make this, it's too easy to ruin over direct heat.

Add the tomatoes. I used canned diced that I had rinsed and drained.

To that add evaporated milk, 1 large can to start, and you might decide you need more if it's too thick.

Then add Velveeta.  I know.
Velveeta?


Velveeta is a kind of processed cheese.   Velveeta is used as a base to melt in the rest of the cheese.  If you don't use Velveeta or can't find it,  it is possible to just use the evaporated milk as a base.

Then throw in the real cheese. I used Monterrey Jack for this but you can experiment with Cheddar, Colby or Longhorn and decide what combination you like the best.  Colby/Jack works well, too.


Then it's just a matter of letting the water boil underneath and stirring until the cheese is all melted.  And you're done.


Enjoy the game!


Sunday, January 9, 2011

Tlalpeno Soup at Cafe Corona


A long, long time ago, I remember...

There was no better way to enjoy a blustery cold winter day than to go to over the bridge to Juárez for lunch. The market was so much fun! Beautiful things to see at Decor and El Patio, then a late lunch at Julio's Cafe Corona. Pitchers of margaritas! And we're talking tequila, triple sec, and lime, none of that phoney mix, nuh-uh.   They were fuerte... but sooo delicious.
And we were young, then.

Julio's still exists in El Paso, and is still wonderful.

But this is how I remember that Tlalpeño Soup. (Pronounced talpenyo). Like a swig of tequila, it warmed your mouth and chest. The heat and smokiness of the chipótle with the fresh sharp onion, tomato and cilantro, mellowed by the rich broth and succulent chicken were perfect compliments. What a dish!


First, cook your chicken and make the caldo (broth). I'm cooking a whole chicken because it makes the broth divine.
I use a pressure cooker, but it really doesn't matter. A soup pot and a long simmer is just fine.

To the whole chicken add celery and onion and garlic, salt and pepper and water. Cook until it is falling off the bone. In a pressure cooker this is about 40 minutes.

When it is cooked, strain the broth from the meat into a colander lined with paper towels, and let the meat cool. This takes most of the fat from the broth without having to chill it.

While the meat is cooling enough to pull off the bones, you can chop up the other ingredients:

Tomato

Green onion top and a little thin sliced white onion.
Green jalapeño, seeded and finely diced.                                       
Cilantro (or Parsley, if you are averse to Cilantro)
Avocado

When your chicken meat is removed from the skin and bones and chopped, you can compose your soup.
Put your broth in a saucepan and turn up the heat.

In a soup bowl, put 1 chipotle chile and some adobo (sauce).
Follow that with chicken meat (and be generous, this is a meal!)
A heaping tablespoon each of onion, tomato, and cilantro.  A little bit of the jalapeño.
A half of an avocado, cut into bite sized pieces.
When your broth is SCALDING HOT, pour it over the contents of the bowl.
Serve with limes,  the best bolillos (french rolls) you can find, and butter.  And maybe a margarita!


And there it is.  If only we could go back in time.
If only Juárez could be like it was then.

We are horrified,  daily, at the continuing nightmare of carnage and tragedy in that city.
Please pray for the good people of Juárez, and all of México.