Saturday, July 2, 2011

Rhubarb Gallette, Lard Crust


I need to take a dessert to a dinner tonight with friends, so I was delighted (and surprised!) when the produce man came forth with a box of rhubarb when I asked if just maybe, oh, please,  they had any in the back.  YES.
Here in the burnt-up desert there's just not much call for this cool-grown fruit.

So instead of a shortcake or cobbler, I want to make a gallette, which is sort of a floppy, free-form pie with bottom folded over to make the top.  I'm making it in a tart pan because this one is so big, and I need to transport it.

Furthermore, I have just decided recently, no more Crisco crusts.  Lard just can't be too much worse for your health, and it's not like I make a crust every week or even every month.  OK?

And here's why I prefer lard.  You just can't beat the flavor, and there's no need to add vinegar or hold your mouth just so and cross your toes when you roll it out, it simply cooperates better all the way around.

So, the steps are:


Put 2 c. flour in a bowl.

Add about 1tsp. salt and whisk.


Get your lard and put in about 1/2 cup, cut in chunks.


Cut the lard into the flour until it looks like this.

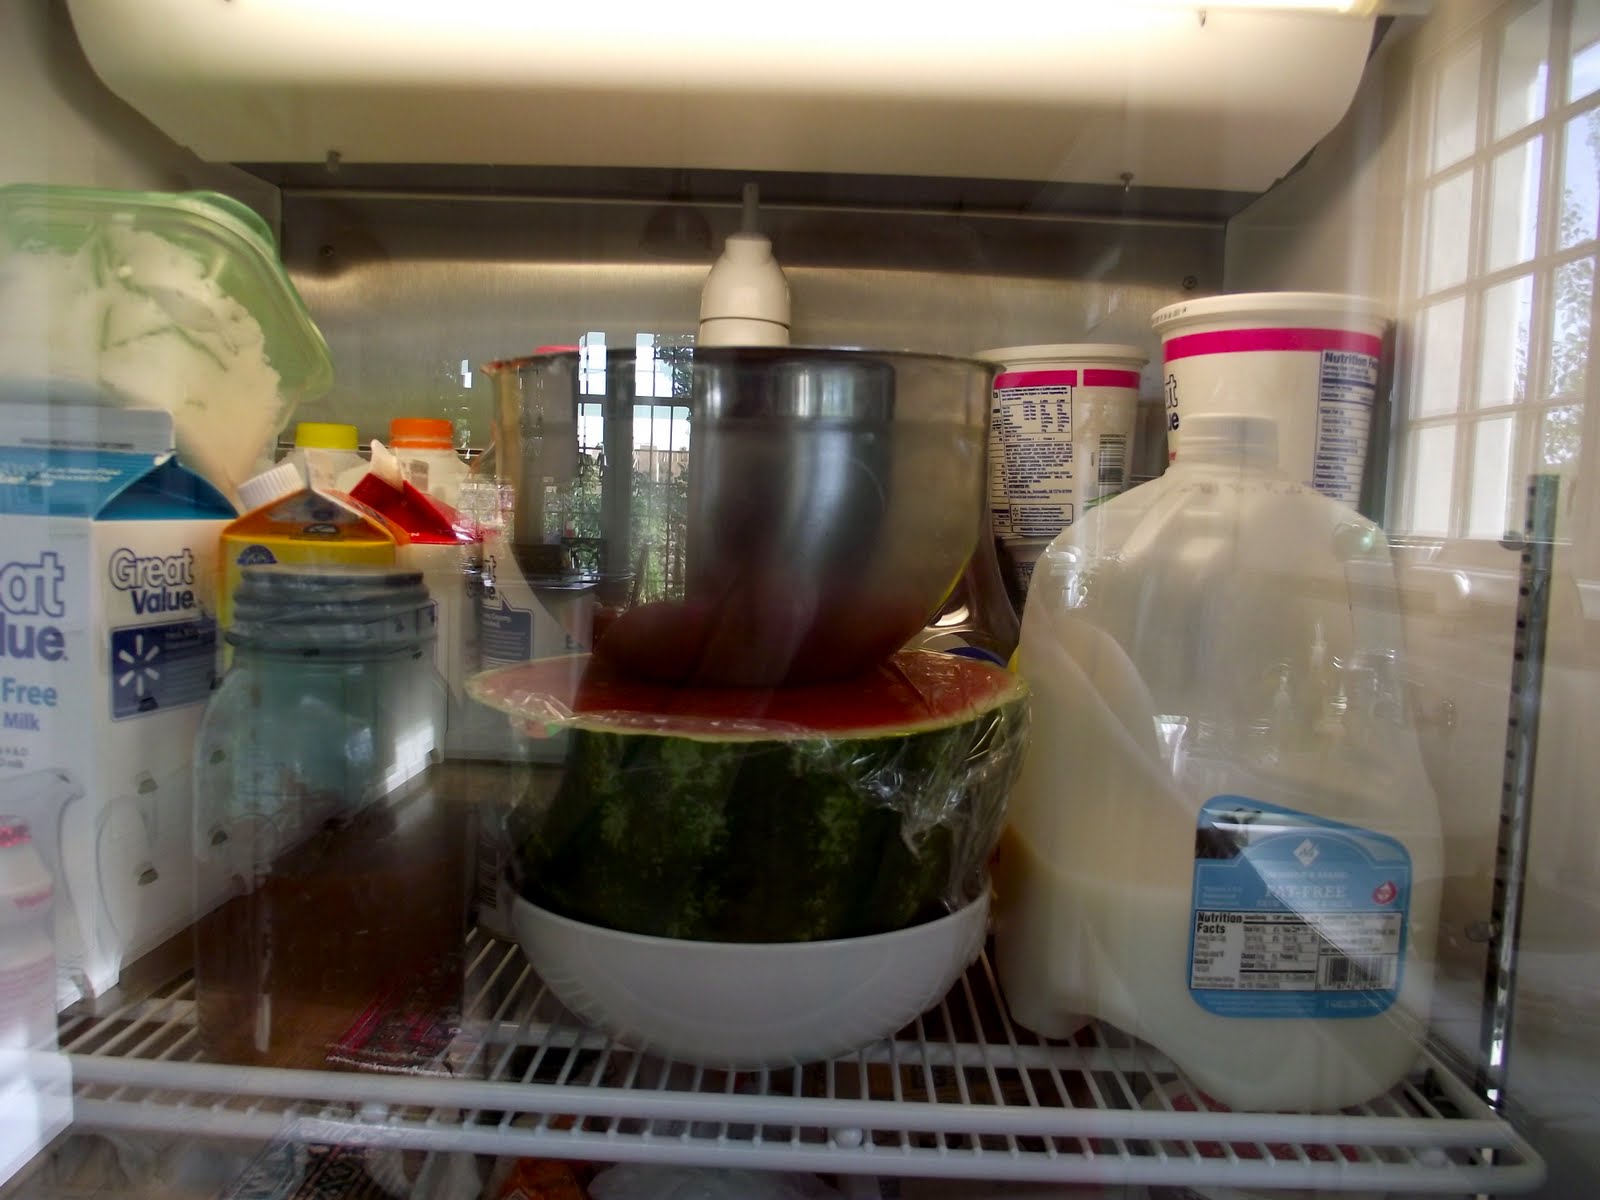
Put the bowl in the refrigerator, and yes, mine is stuffed like a Christmas turkey.


Wash and chop the rhubarb.  This is a big pie, so I cut about 6 stalks.


( added a couple of ripe plums that were hanging around)

Add 1c. sugar, 3/4 c cornstarch and a tsp of salt to the rhubarb and mix.  The cornstarch is to soak up the excess juices.
Set aside.

Get your crust dough out of the refrigerator and get a cup of water.  
Add most of the water, mix, add a little more and mix again.  ( I love my dough whisk!)

When the crust mixture looks like this, with very little dry parts left, gather it into a ball.
Let the dough ball rest a second.

Put a little flour in your tart pan, if using one, or on the cookie sheet if not.


Roll out the dough. I love to use the coated butcher paper for rolling out dough.  Just peels right off.

Put the dough on the tart pan.  Stretch it out as far as you can.


Put about 1/4 c powdered sugar on the dough.  Spread it evenly.  This keeps the crust from getting soaked.
Put the rhubarb on the crust and fold over.

Paint with cream for prettiness.
Cook in a 365 oven for about an hour.
I can't wait for dinner.

Sunday, May 22, 2011

Green Chile and Corn Tamales

I ran across this recipe in the LA Times, adapted from "Mesa Mexicana" by Mary Sue Milliken and Susan Feniger with Helene Siegel, and it sure looked wonderful.  Here is the link:LA Times Recipe

Don't you just love tamales? The primitive wrapper, the masa that is so ... basic, and sustaining, and in this recipe, whole corn and green chile and cheese?

And... who knew that grits would make a good masa?

I just had to try this.

But I didn't want to fool with the fresh corn that was called for by the LATimes.  Dried corn shucks are readily available here. Frozen corn is a lot faster.
Here's what I did.  (This made about a dozen tamales.)


1. Start by soaking the corn husks in water.

2. Put a couple of tablespoons of butter in a pan and melt it, and add the frozen corn. Cook on high heat until the corn begins to brown.

3. Then add chopped green chile. Long green chile, or poblano chile, that has been roasted, peeled and seeded. I used 4 chiles, but it depends on how hot the chile is, and your own preference.


4.  Put 1/2 cup of grits in a bowl and add 1/2 tsp. baking powder.  Mix with a whisk.

5. Add 1 cup of liquid to the corn and chile;  the recipe called for heavy cream. So I used a combination of evaporated milk, Mexican Crema, and water. (Because I didn't have heavy cream) And because I hadn't used heavy cream, I added about 2 more tablespoons of butter so the masa would be tender. Tamales need some fat, or you will end up with a grits hockey-puck.

6.  After turning off the heat, add the grits/baking powder mixture.

7.  Then add about 1/2 cup of shredded Monterrey Jack cheese. Mix well.


8.  Let the masa/corn mixture cool.

9.  Now take a wet husk and if it's not very large, use 2 with the large side on the edges. Put about 3T. of the mixture in the husk and roll it up. Tie one end with a strip of husk.

10.  Put the tamales on a steam basket in a large pot and fill with water to the bottom of the steamer. Cover the pot.  Steam gently for about an hour, re-filling the water on the bottom of the pot as needed.

Keep them warm for serving, covering with a wet towel in a warm oven.
OH, MY.   They were delicious, and I was amazed at the amount of masa made by that little amount of grits!
A great side for a delicious steak.  I will definitely be making these again.


Tuesday, April 26, 2011

Raised-Bed, Year 2


This Spring has come with some  events that have slowed me down a bit, as far as my blogging goes.  And I won't be posting much new for a little while, but....
I wanted to show you how my raised-bed square foot garden is doing this year.

As you can see, it isn't looking quite as spiffy as it did last spring, and could probably do with a little "grooming".  

However, I am happy to report that the soil underneath is great.  The 6 inch tomatoes that I planted late in March are thriving and in spite of planting last year's seeds, the squash, okra, and cucumbers have leaped up.  My weed prevention (weed cloth, straw and cooler pad fibers) has worked beautifully, and even tho it's covered with %$#* chinese elm seeds, only a couple have sprouted.
I have moved things around, this year the tomatoes are on the north edge, okra on the south.  Don't know whether this is really important with these vegetables, but I do know that it's important to rotate crops.
Different also this year will be my pest control.  I don't want to see any of those creepy squash bugs or their spawn this year, so early and often applications of Sevin will be used.  Hats off to those who search with a bucket, but not me.

Black-eyed peas will be planted in a few days, they need a little more heat to grow, so this year the garden consists of:
Tomatoes
Okra
Zucchini
Yellow squash
Eggplant
Cucumbers
Black-eyed peas

Here we go, again!


Tuesday, April 12, 2011

Capirotada This Way


Capirotada (kah-pee-roh-tah-dah) is a dish similar to bread pudding that is usually served during the Lenten season.  I first had the pleasure of enjoying it when a fellow teacher brought some "leftovers" into the teacher's lunch room many years ago.  Wow!  So interesting and full of flavor; nuts and cheese and sugar, sweet and savory together.  Just lovely.
I've since learned that the only thing that one Capirotada might have in common with another is the bread and the sweetness.  Families have their own Capirotada just like their own Thanksgiving Dressing.  Some add candy, some use tomatoes and onions with the bread and sugar "broth".  All different kinds of cheeses are used, all kinds of bread.  It's basically whatever you want it to be.
For an interesting treatise on the origin of Capirotada click on this link: Capirotada
So for whatever it's worth, having no family recipe to guide me, this is the recipe that I have settled on for ours.
Easter season would not be the same without it.

Here's what I use:
Old dinner rolls (stores around here sell these especially for Capirotada during Lent) torn up and baked until toasty and dry.
Raisins
Currants
Nuts (any kind of nut is good, this time I used some toasted piñones)
Apples
Butter
Piloncillos (Mexican dark cane sugar, or you could use regular dark brown sugar)
Aged cheddar cheese
Cinnamon
Cloves
Mexican Crema (cream similar to creme fraiche, for serving)

To make:
Tear up the rolls and bake them until dry and toasted.  You will have to toss them two or three times while baking.


Now take three cups of water, some ground cinnamon or good cinnamon sticks, a few whole cloves, three or four piloncillo cones or 1 and 1/2 cups of brown sugar.  Boil this for about 5 minutes, and then strain the cinnamon and cloves out. Put it back in the pan and now add the butter, raisins and currants.    Boil 5 minutes more.


Take the toasted bread in the pan and add the apples, nuts and 1 cup grated cheese.


Ladle the hot syrup with the raisins and currants over the bread.

Cover it with foil and bake at 350° for 40 minutes.

Serve hot with cold crema on top.   Happy Easter!


Monday, April 4, 2011

Onion Rings a la Jamie


In El Paso there is a famous family-owned drive-through burger joint.   Before McD's and all the others, we had Charcoaler.  It  holds a special place in the heart of every local yokel who was once a hormonally hungry teenager and fortunate enough to be able to drive through and chow down.  My theory is that we imprinted it in our brains like a baby with it's mother as the ultimate in hunger satisfaction!
That's why former El Pasoans often make it their first stop in town before they go home for Mom's cooking. Really!
Everyone has their favorite order to yell at the speaker, but those onion rings are truly special.  Crisp, salty, real onions and hot enough to melt braces, those onion rings can make you moan.
And darned if my neighbor Jamie made some the other day that could be mistaken for.....those.
It's one of those recipes that is just so simple you won't believe it.
You will need:
A white onion or two.  Or yellow onion.  Or vidalia onion.  Whatever floats your boat.
All Purpose Flour
Salt
Water
Frying oil.  I used peanut.
That's it.
Here's how to make them:
Slice the onions and put the rings into cold water to soak for a while.

They can soak as you are getting everything else together.
Mix 1c. all purpose flour, 1c. water, and 1 tsp. salt.  Stir this glue (I mean batter) up well and let it sit.

Put about 3-4 inches of oil in a heavy dutch oven and crank it up.
Get another bowl and put in 1 or 2 cups of plain all purpose flour.
Line a pan with lots of brown paper or paper towels or even newspaper to place them on when they are cooked.
Check now to see if your oil is hot. Drop some flour in there and see if it foams and bubbles.  If not, wait a while longer.
Take the onion rings out of the cold water, shake them around to dry them off, and dip 3 or 4 in the water/flour mixture making sure they are coated well,  then put them straight into the bowl with the flour.   You can either use your hand to coat them or just shake the bowl around until the rings are coated.  Don't worry if they look pretty shaggy, that's the way they are supposed to be.

Put them (carefully!) into the hot oil and take them out when they are good and brown.
Sprinkle liberally with salt and serve.

".....and a Number 2, an apple fried pie, and a large chocolate milk over ice, please.  Thank you, Mr. Cox."


Thursday, March 24, 2011

Curry Chicken Salad for the Ladies


I love, love, love Ladies' Luncheon Food.  It's delicious, it's light, it's fancy.  It's fun to eat.

And it's different from regular food, right, ladies?

Classic Ladies' Luncheon is, of course,  Chicken Salad, and this is my favorite, even more than Helen Corbetts' Neiman Marcus Chicken Salad.  And that's pretty darn good.

You can change this up any way you please!   Poached salmon or smoked turkey instead of poached chicken; you can add apples or mangos or mandarin slices or dried cherries instead of grapes,  you can add nuts,  it's just whatever your little ol' capricious heart desires.  Ladies' Choice.

So here is my choice.

You will need 1 cooked (I poach mine, that is, simmer in seasoned water until cooked) chicken breast for every 2-3 servings.   Cooked rice, and that can be ANY rice.  I mixed wild and brown rice together.  This is about 3/4 cup brown rice and 1/2 cup of wild and it was plenty for 10.
I always remember a friend lamenting that you just have to cook the dawg out of wild rice, but I don't agree.  I cooked it along with the brown and then added a little more water and cooked a little longer and even though it's not split apart and curled,  neither is it  rock hard.  It  tastes cooked.  So there.

And this:
Celery (about 3-4 stalks)


Green onion (tops only, you don't want to ruin your day)


Grapes (red, green, doesn't matter but seedless) about 20, quartered.  They were so darn big.


White pepper (1/2 tsp.)
Salt (1 tsp.)
Curry Powder (1and 1/2 tsp.)
Lemon juice
Mayonnaise (1c.)
Greek Yoghurt (not in group photo) (1/2 c.)


Olive oil (2T.)

And, Major Grey's Chutney.
This is IMPORTANT.  Major Grey's Chutney is a jam made with mangos, tamarind, lime and spices, and it adds such an interesting sweetness.


So, slice your celery, onion tops and grapes up into a bowl.  Squeeze a lemon over it and toss so that the grapes don't turn brown.


Then mix up the rest.  Quantities don't really matter that much, just use your judgement.  Add olive oil to loosen it up a bit.  Pour it over the rice/vegetables/fruit/chicken mixture.  Mix well with clean hands or instruments.


This tastes better when refrigerated overnight.

I'm serving with Banana/Pineapple Bread and cream cheese/butter.


It's really, really good.  Ladies will like it.